August 28, 2008
DIY Projects Part I
So, now that it is 15 days from the wedding I feel like I can share all my DIY projects with the world.
First of all, I really had a great time with all these projects, though I will share the difficulties I had with certain things, in the end I’m happy with how everything came out and it was a lot of fun having all these projects.
So much fun that after they were all done I added a few more, just for the heck of it.
(Click any picture to enlarge)
Project #1 – Save The Dates


Being that I LOVE making my own cards I figured this task would be a piece of cake. It pretty much was but there were a few snags. First of all the leaf punch is a little hard to close and it made my hands and wrists hurt from punching out all those little leaves.
Also I had trouble lining everything up with my fairly new MacBook and the program I used was not helping me to print 4 to a page. I eventually spaced them out manually and I think they came out alright in the end but it was pretty frustrating at the time.
We wanted the font to be more “fun” than formal and I think the look we were going for was achieved. We also included a smaller card with the hotel accommodation information. This was printed smaller than I would have liked, but otherwise the pertinent information would not have fit. I had to cut it down enough as it was.
All supplies came from Paper Source in Brookline, MA (see link in Blogroll for more info on Paper Source)
Proofreading done by Mitch.
Project #2 – Invitations
Right after the Save The Dates were done I started on the invitations. We wanted to keep the leaf theme and continue to use our “wedding colors” which are really just fall colors. The problems I had with the colors were making sure it was not too “Halloweenie”. The Red and the Ivory really had to come into play to make sure that didn’t happen.
Main Invitation 5×5 square flat card stock
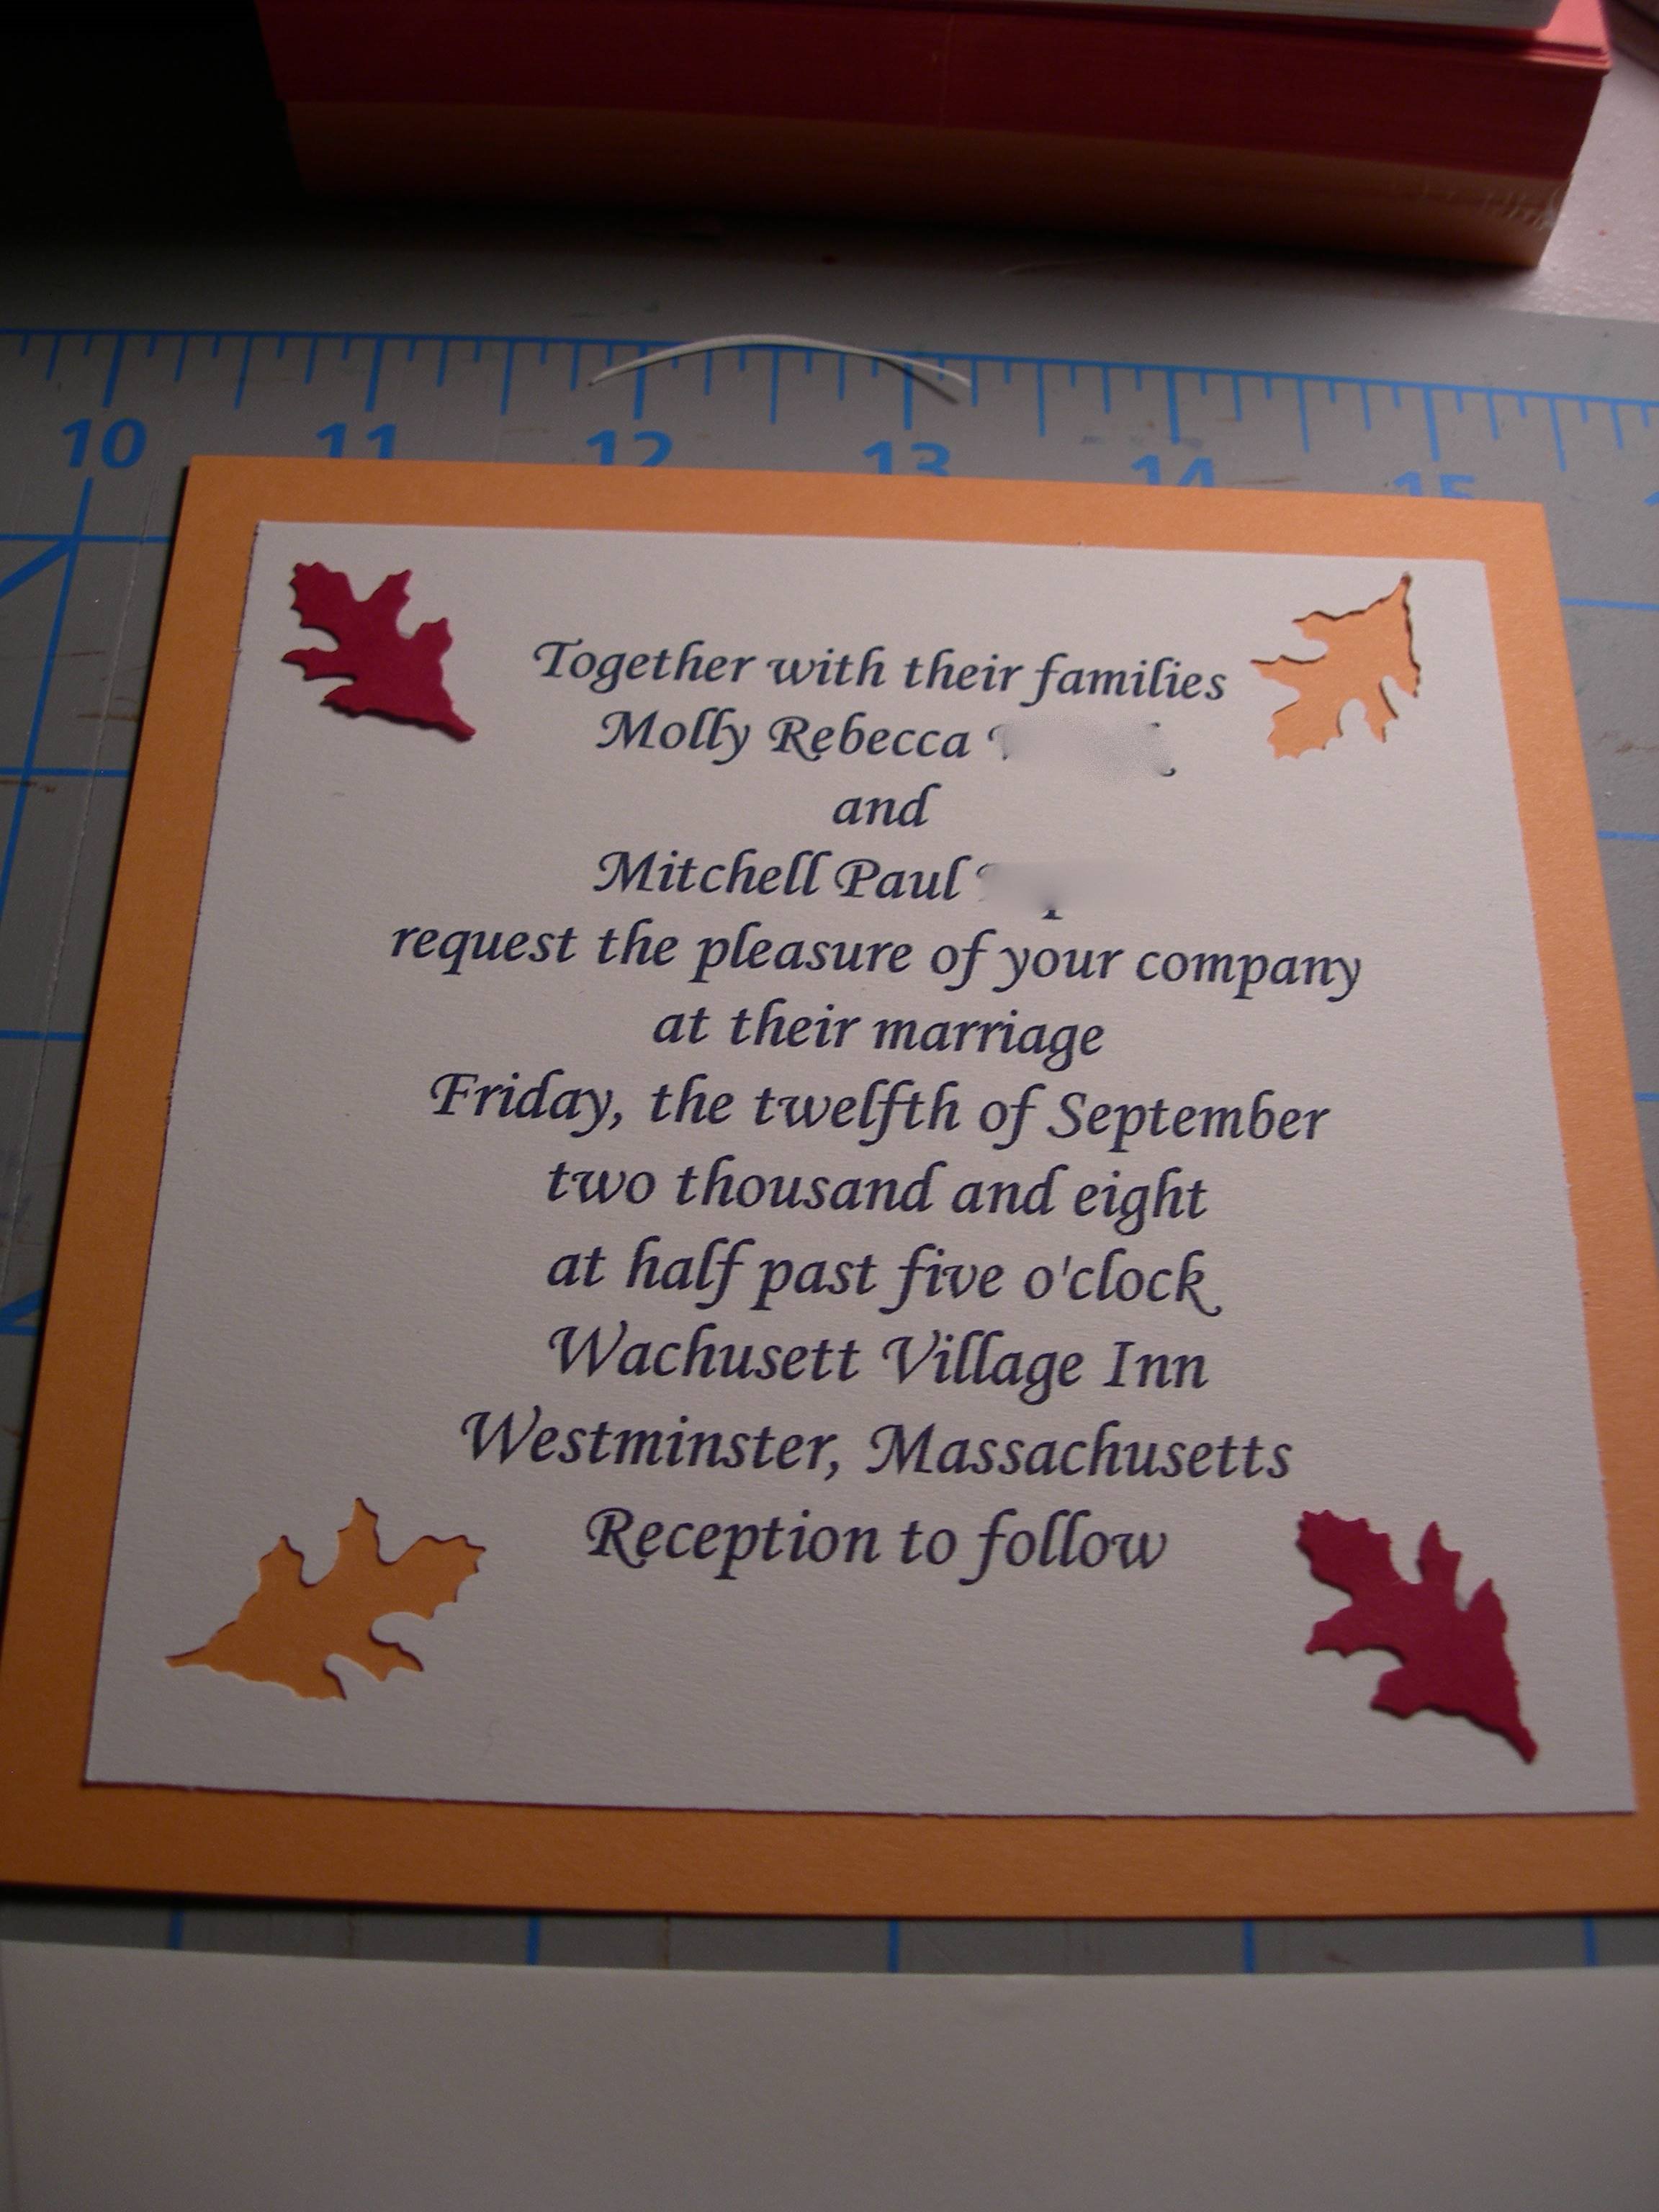
I printed the information to Soft White – Text weight paper, fitting two per page. I had purchased Mac’s iWork software and used the program Pages to set these up and avoid the problems I had with the Save The Dates. I then cut them out and punched the leaf in opposite corners and glued the red leaves onto the others. I then glued this to the “Poppy” orange card stock.
Direction cards – 4 bar card stock in “Poppy”. This card stock decided to give me trouble in the printer. I had printed to the same card stock for the Hotel information in the Save the Dates no problem. This time however it wouldn’t feed through the printer. I ended up getting it to work by feeding one sheet at a time by hand and kind of pushing it a long.

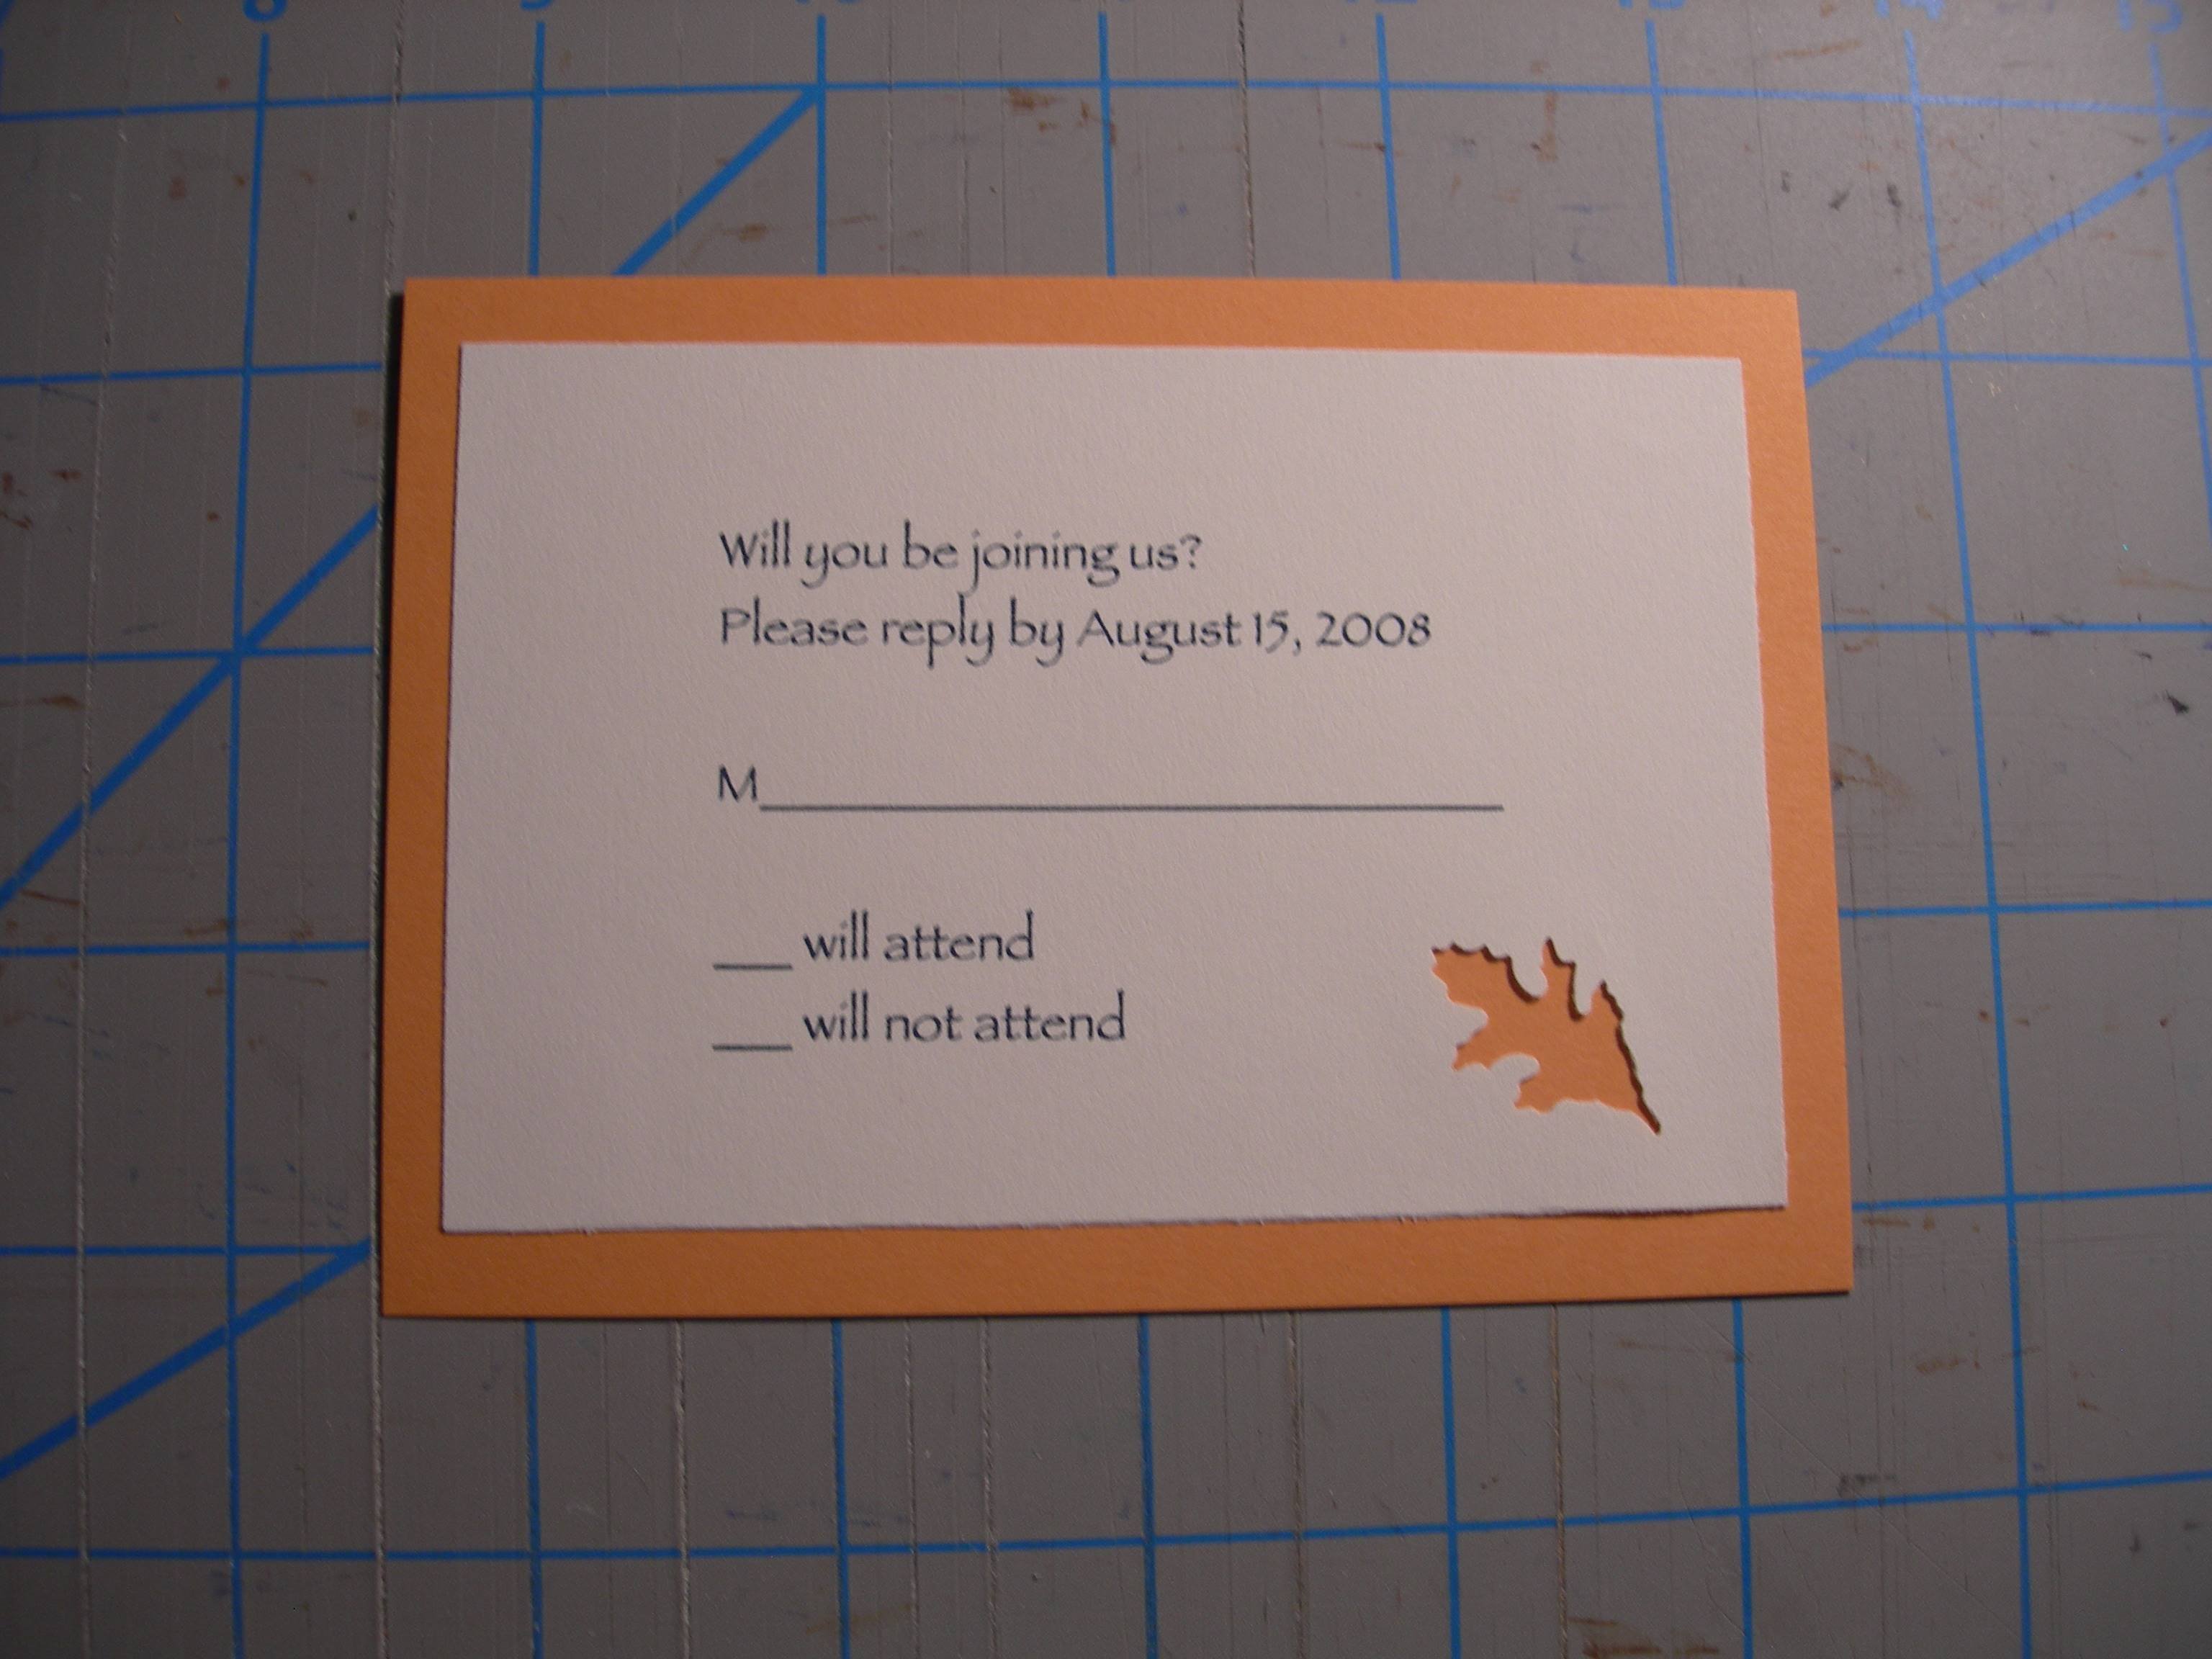
RSVP card – printed to text weight paper in Soft White and glued it to the 4 bar cardstock in Poppy.
Petal Enclosure in Chocolate, stamped in gold with leaf stamp

All put together with a red ribbon.

We then folded in the sides of the petal enclosure and put them into the envelopes. When you open the envelopes the side with the gold leaves sticks out. (I’m sure no one noticed that but me)
Envelopes Front and Back – Hand addressed by me! (Yes we invited Mickey and Minnie, they have yet to respond )
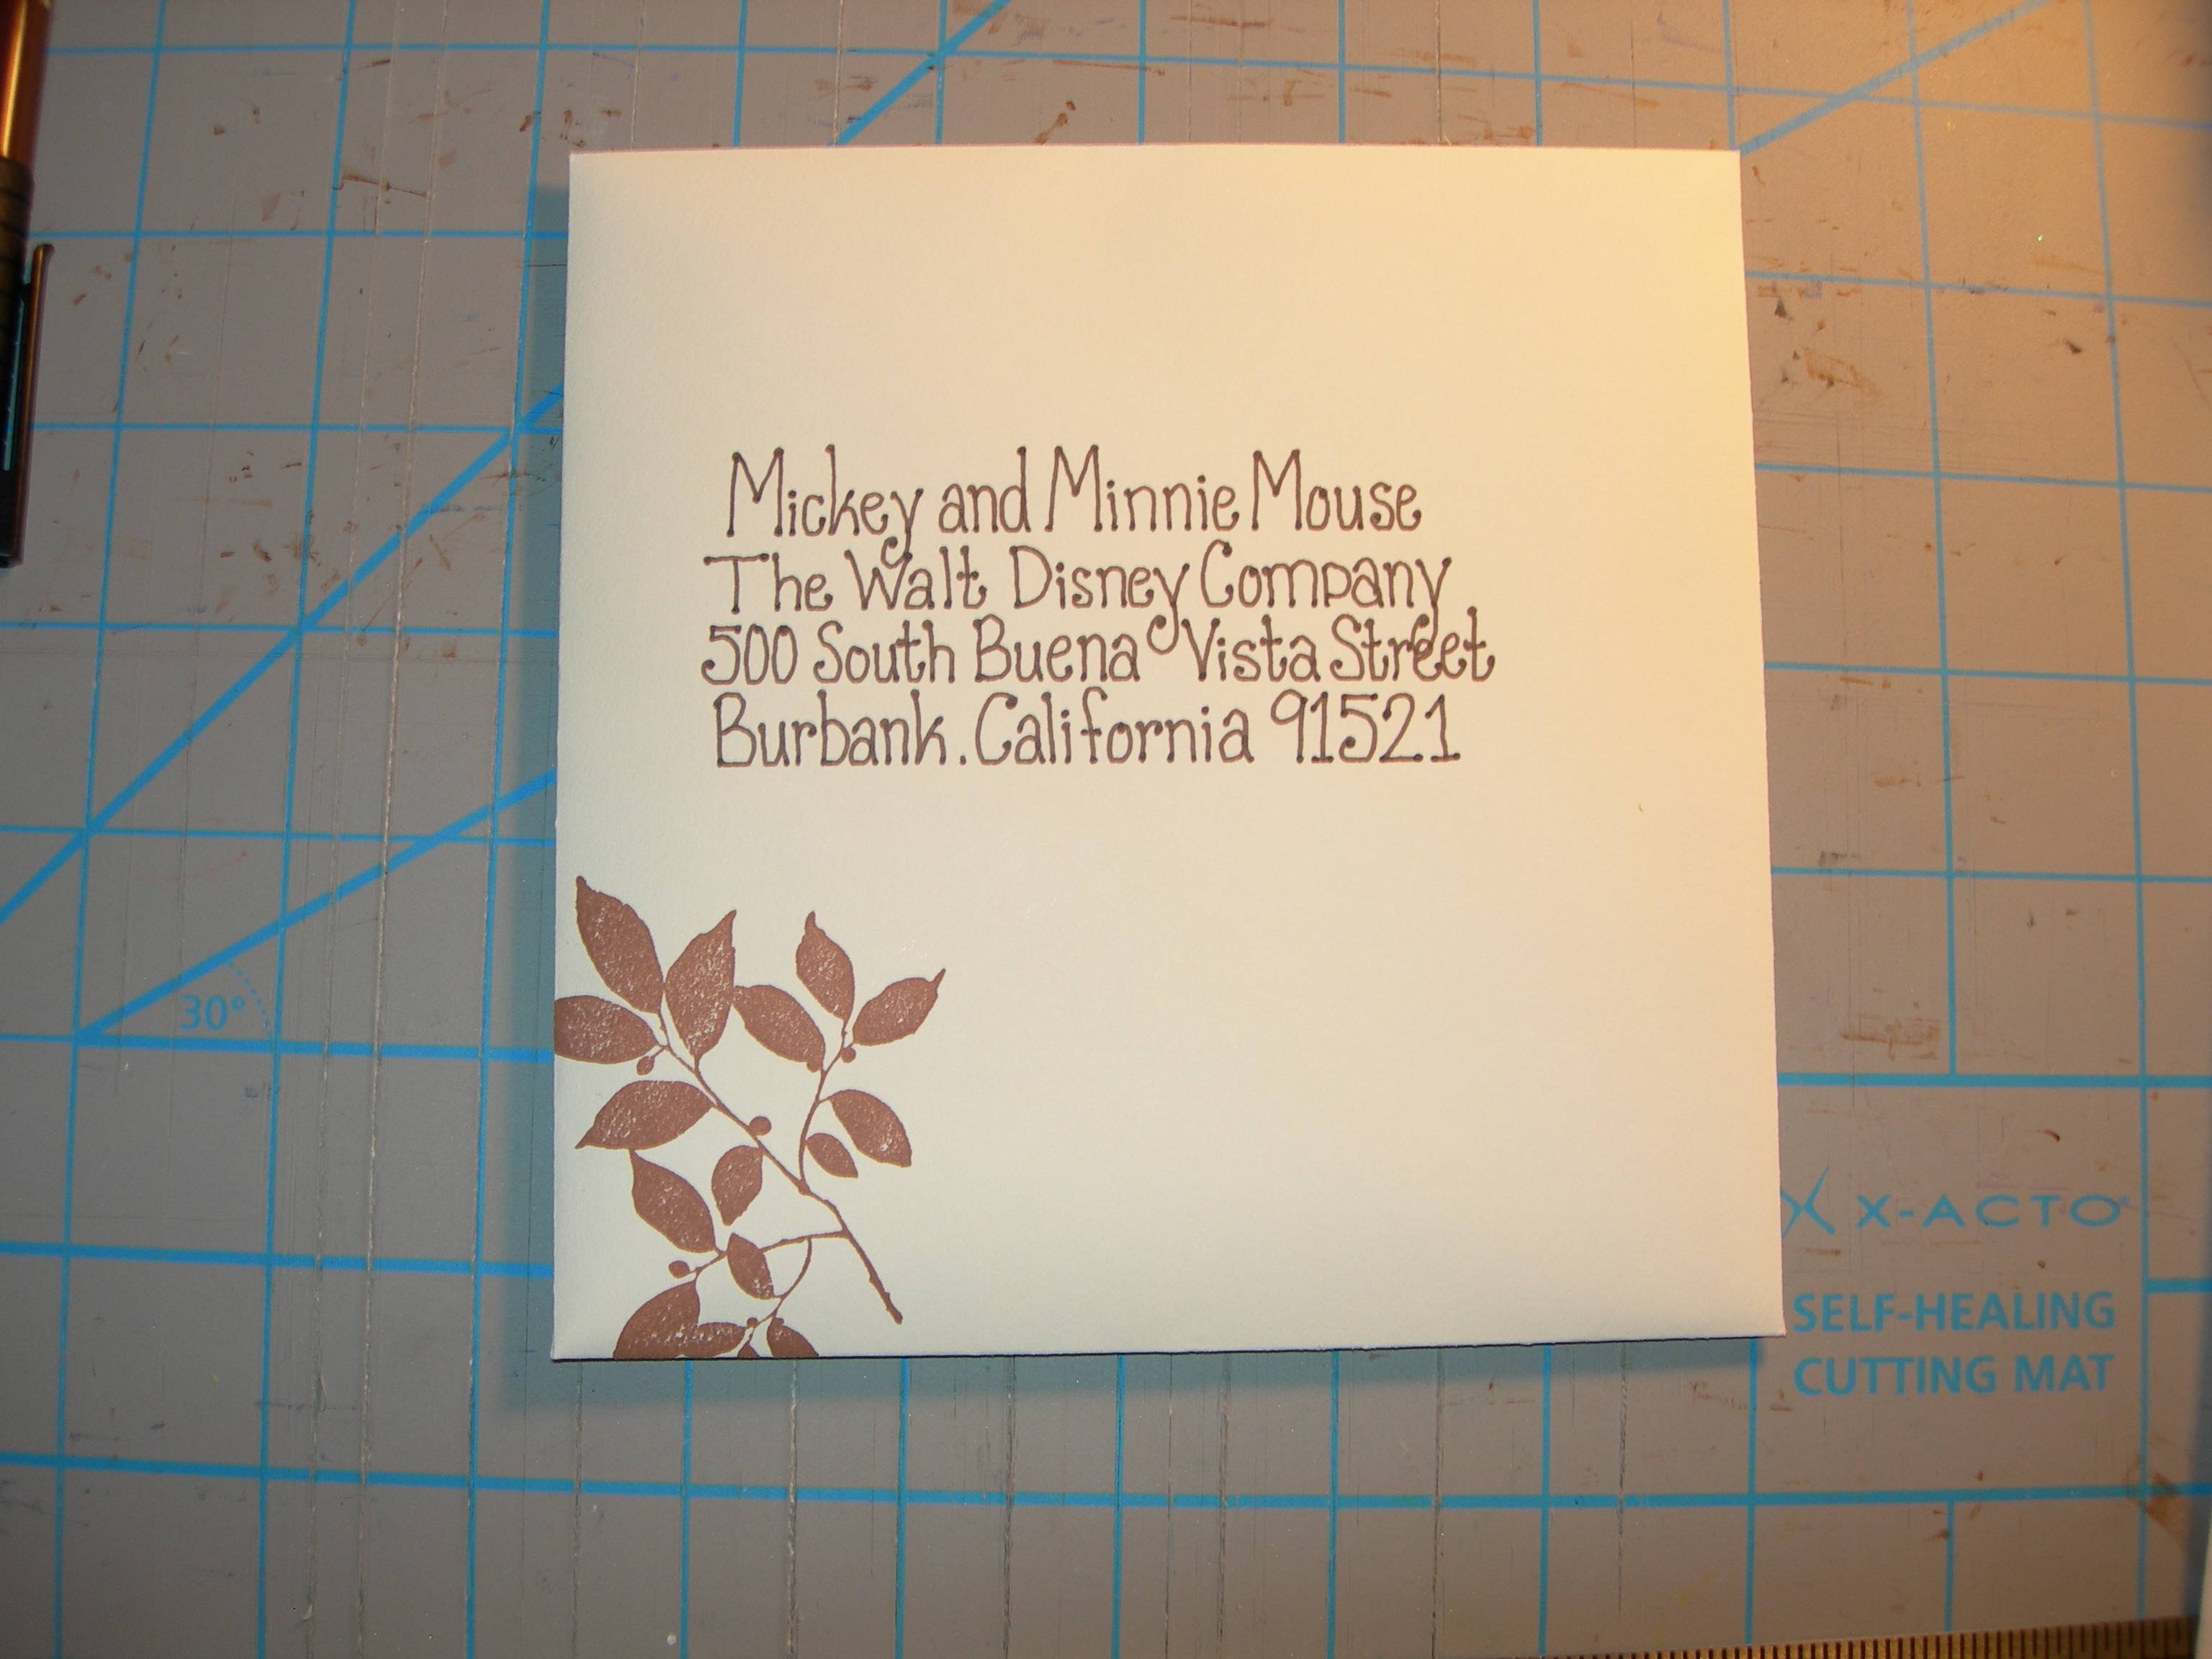

We used the $0.59 wedding stamps that come in a pale orange color (which I was so excited about)! Apparently for certain post offices that was not enough for the square invites. I learned my lesson there. We had asked two post offices and mailed a trial to ourselves and still got 9 back needing more postage. Oh well. In the end I’m pretty sure everyone got theirs.
Stay tuned for more DIY projects in the days to come.
-Molly
15 days to go!
